
The Tech Buffet #21: Deploy A Production-Ready Streamlit App with Cloud Run and Cloud Build
How to ship containerized applications on a serverless architecture and over a CICD pipeline.

Hi 👋 Ahmed here, your host at The Tech Buffet. This issue covers app deployment, an important skill to make your work accessible to the world.
Subscribe to access exclusive content.
In this issue, you’ll learn how to deploy a Streamlit application quickly and cost-effectively on the Google Cloud Platform.
To do that, you’ll need:
A GCP account with a valid credit card (although following this tutorial won’t cost you a cent)
Pulumi: an Infrastructure as Code (IaC) tool to provision the cloud resources needed to deploy the app
Some knowledge of Google Cloud services (Cloud Run), Docker and Poetry
A Github account to trigger automatic deployment with the Cloud Build CI/CD platform
If you’re unfamiliar with some of these tools, everything will be covered below, and links will be provided to learn more.
Without further ado, let’s have a look 👇 .
What is Cloud Run? ☁️
Cloud Run is a Google Cloud service that provides a fully managed platform to run your code in a container.
Whether you’re building a web server, an API, or running processing jobs, Cloud Run automatically scales your containers up and down from zero.
This means you only pay when your code is running.
With Cloud Run, the workflow is simple. You write your code in your favorite programming language (Python, Go, NodeJS, or Java), package it into a container, and push it for deployment.
Then, Google Cloud provides everything the app needs to run in production.

What does an app need in production? Here are some benefits:
Auto-scaling: Cloud Run scales up and down your containers depending on the load. When the CPU usage exceeds 60% in a container, Cloud Run starts another one and splits the traffic
HTTPS 🔒: when your app is deployed on Cloud Run, it gets a secure endpoint with a TLS termination (even on a custom domain)
Native integration with other GCP services: Cloud Run conveniently integrates with other services from the GCP suite. One of these services is Cloud Build, a CI/CD platform that streamlines the development process (we’ll see that in the last section)
Traffic management: Cloud Run allows you to split your app’s traffic across multiple versions already deployed. This is particularly helpful for AB testing.
If you’re interested in learning more about Cloud Run, check out this link ⬇️.
Configure Pulumi and start an initial Deployment 🛠️
In the previous issue, I covered the process of deploying a cloud function on GCP using an infrastructure-as-code (IaC) tool called Pulumi.
With IaC, you don’t need to manipulate the UI. Instead, you define the resources in imperative code (e.g. in Python or TypeScript) and hit a special command to launch the deployment. This automates manual operations, versions the state of the infrastructure in a repo and increases collaboration.
We’ll use Pulumi again today to provision everything the Cloud Run instance needs.
Let’s go over some preliminary steps to Pulumi up and running.
⚙️ Initial setup
▶️ Install Docker and start it
▶️ Install Pulumi with Homebrew if you’re on Mac. (Check this link if you’re on another OS.)
brew install pulumi/tap/pulumi▶️ Assuming you have a GCP account with the Cloud Run API activated, install the gcloud CLI if you haven’t already
▶️ Authenticate gcloud with your GCP account
gcloud auth application-default login▶️ Create a new folder and run pulumi new inside. Then pick the container-gcp-python template. This will bootstrap a project architecture suited to Cloud Run.
In this step, you’ll be asked to provide some settings about the project. Then, Pulumi will create a virtual environment.
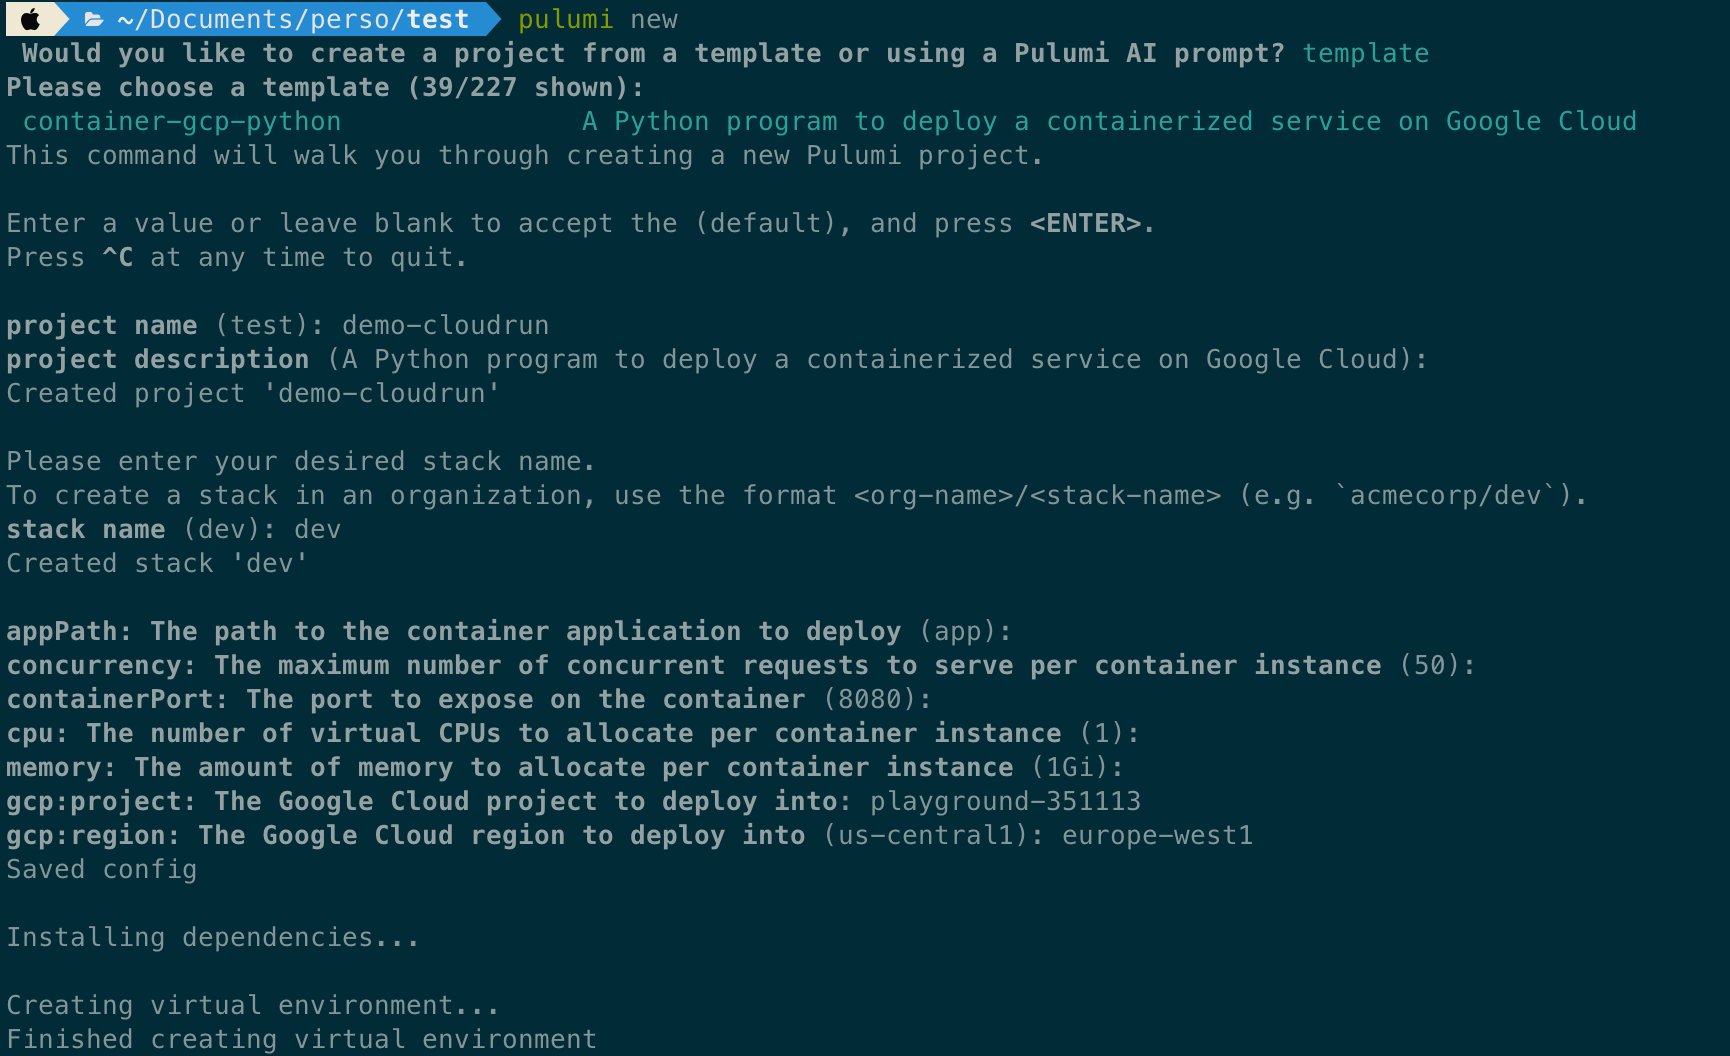
When the installation is completed, you’ll get the following structure:

▶️ Change the Pulumi.yaml file by specifying a backend on GCS. This will tell Pulumi to store the remote state of the architecture in your bucket*. (Mine is pulumi-gcp-state, so you need to create your own if you’re following the tutorial.)
PS: Note that other backends are possible to use.*

▶️ Pin the pulumi-gcp dependency version to 7.11.2

and reinstall the dependencies.
source venv/bin/activate
pip install -r requirements.txt
▶️ Now perform an initial deployment to check everything is working:
pulumi upPulumi first previews the updates:

Then it creates the resources:

If we click on the output URL, we’ll get this:

Our endpoint is deployed! For now, it’s a simple REST API that returns a cute “Hello, World!”.
Ok, let’s now modify the code a bit:

And run pulumi up again:
This time, Pulumi only previews the updates because everything else is already created.

If we hit the URL again, we will see our changes!

Pretty cool, right?
Deploy a Streamlit application 🎈
To deploy a Streamlit application on Cloud Run by using Pulumi, we’ll need to modify some files:
▶️ Change the requirements.txt in the app folder to:
streamlit▶️ Change the app.py file to:
import streamlit as st


st.header("Hello from Cloud Run !")
st.balloons()
▶️ Update the Dockerfile by changing the base image and the entry point

▶️ Then deploy!
Ta-da! 🥁
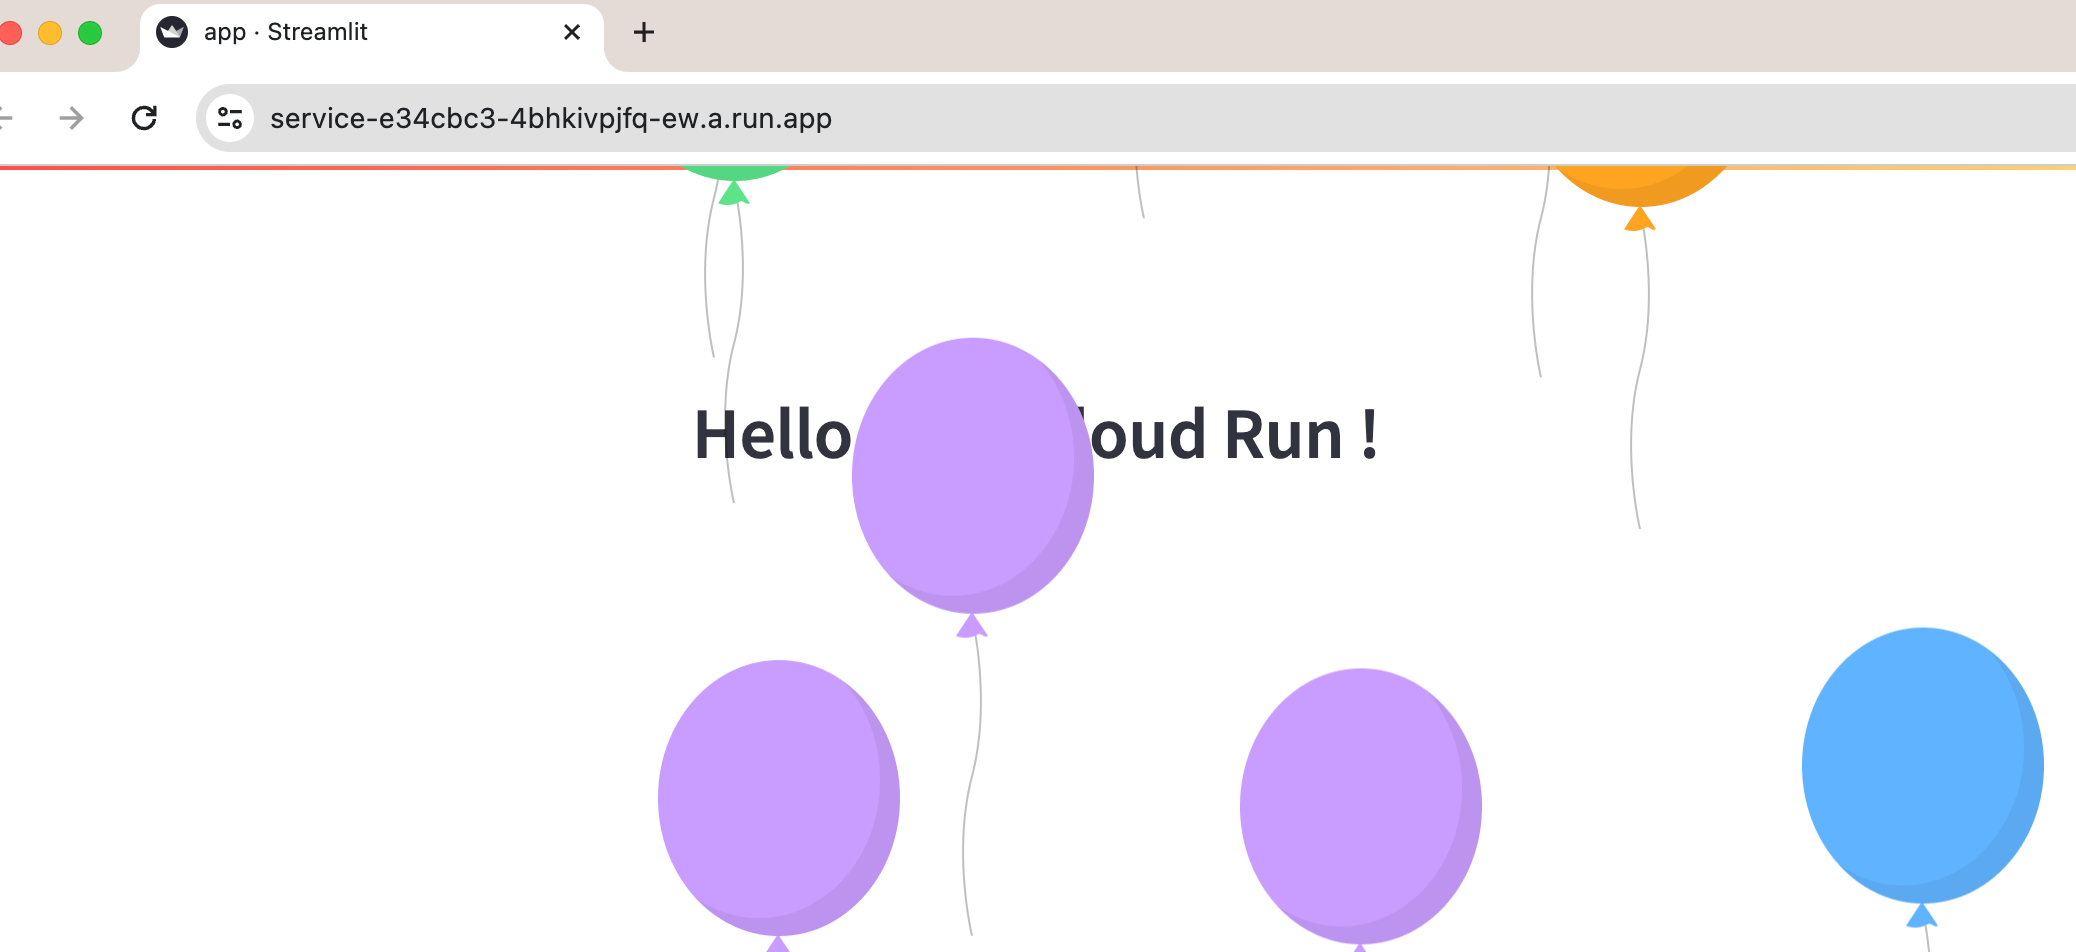
What exactly happens here?
We looked at the deployment output without understanding how Pulumi does it under the hood.
To understand how Pulumi defines the resources, let’s have a look at the __main__.py file.
Let’s go over it step by step:
▶️ We start by loading the configuration settings:

▶️ We create a unique repo on Artifact Registry to store the Docker image

▶️ We create a container image for the service

▶️ We define the service by supplying the needed configurations: image URL, resource limits, ports, environment variables, etc.

▶️ Finally, we add the run.invoker role to the Cloud Run service and apply it to all users so that the app can be invoked by anyone

Pulumi integrates well with many Cloud providers and services, check out the documentation and the examples to learn more.
Don’t hesitate to check the documentations of the functions and classes used in the code: Pulumi provides a deep level of customization.
Automate the deployment with a CICD pipeline ⚙️
We’ve seen that to deploy the app, you needed to run pulumi up.
But this would be tedious to repeat each time we modify the source code, wouldn’t it?
Instead, it’s more convenient to trigger the deployment automatically as we push modifications to a remote repository.
That’s where Cloud Build comes into play.
Cloud Build is a serverless CI/CD platform designed to build, test, and deploy code.
The good news is that it also integrates perfectly well with Cloud Run!
Let’s see how.
▶️ Go to the GCP console, under Cloud Run, select the service you’ve just deployed, and hit the EDIT CONTINUOUS DEPLOYMENT button.

▶️ Set up the source repository (You may probably need to connect your Github or GitLab account to GCP before), and select the repository where you pushed your code

▶️ Update the build configuration: the branch that triggers the build, the build type (Dockerfile), and the path to the Dockerfile in the repository.

Before triggering the CI/CD, you may also need to activate the IAM API.
Let’s now see how modifications trigger automatic deployment:
▶️ Go to your project locally and make some modifications:
import streamlit as st

st.header("Hello from Cloud Run !")

button = st.button("Show balloons!")

if button:
    st.balloons()
▶️ Now push your code on the main branch. (This would be a feature branch in real life)
This will immediately trigger the build and the deployment.
And we can monitor it on the Cloud Build interface👇

After ~2 minutes the modifications are deployed.

How great is that?
Imaging doing this on a complex codebase: this would be a great time-saving.
Thanks for reading! 🙏
I hope you’ve learned a few things about Cloud Run today. To me, this is the go-to solution to deploy Streamlit applications quickly and cost-effectively.
I’ve been using Cloud Run to deploy generative AI applications, and it’s been working great for my client.
Maybe you should give it a try too: you could use Cloud Run to deploy RAG applications or Chatbots.
That’d be all for today. Until next time! 👋